Epoxy Coating (0.3 – 1 mm)
Roller or squeegee applied coats over prepared concrete. Suited to light to moderate traffic, storage areas and garages where a clean, dust-free surface is the priority.
Epoxy Flooring
Epoxy is not one product. Thickness, primer and finish all change with the substrate and the way the floor is used. Here is how we choose.
System Options
A quick reference to the systems we install most often and where each one fits.
Roller or squeegee applied coats over prepared concrete. Suited to light to moderate traffic, storage areas and garages where a clean, dust-free surface is the priority.
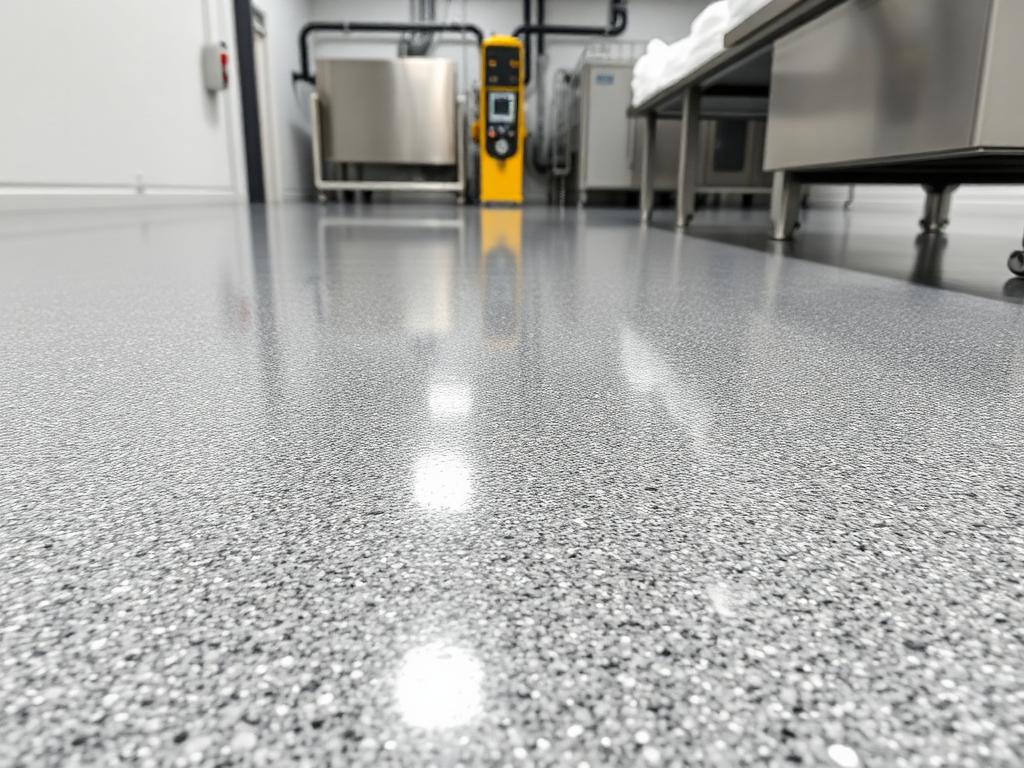
A flowable screed that smooths out minor undulations and delivers a flat, seamless surface for production halls, showrooms and clean areas.
Quartz or aggregate broadcast into the resin to create a controlled texture for ramps, wet zones, washing bays and food processing floors.
High build systems for areas with sharp impact, steel-wheeled trolleys or aggressive chemical exposure where a thin coating would not survive.
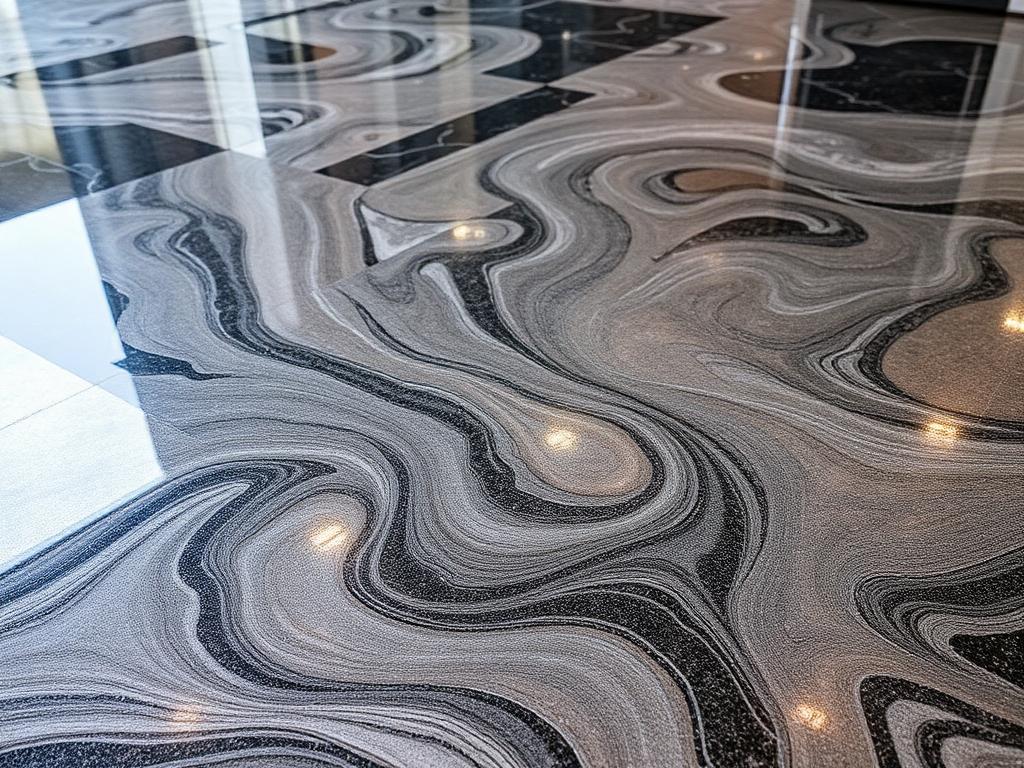
Pigmented and metallic resin poured for depth-effect finishes, plus 3D graphic floors for feature areas and premium interiors.
Crack filling, patch repairs and a fresh top coat to restore an existing epoxy floor without stripping the entire system.
No joints or open pores, so concrete dusting stops and cleaning becomes far quicker.
Resists oils, coolants, mild acids and constant wheel traffic when the correct system is specified.
Anti-skid textures, line marking and colour-coded zones can be built into the floor.
Routine sweeping and mopping is usually enough; recoating can extend life further.
Our Process
A controlled five-step sequence that keeps quality predictable from the first site visit to handover.
We visit the site, measure the area, check concrete condition and moisture, and understand usage and traffic.
Mechanical grinding or shot blasting, crack and pothole repair, and complete dust removal to open the surface.
A penetrating primer seals the substrate and creates the bond strength the epoxy build-up depends on.
Base and top coats or self-levelling screeds are applied to the specified thickness in controlled conditions.
Finish, thickness and edges are checked with you, curing time is explained, and maintenance guidance is shared.
Get Started
Tell us about your project and get a customized flooring quotation.
+91 85308 56808 · +91 90225 12811 · Mon – Sat, 9:00 AM – 7:00 PM